

If you're new to making bath bombs or even an experienced bath bomb maker. Making bath bombs can be a challenge at times. Even things out of your control such as the humidity can play a big part in your bath bomb making success.
Here is our bath bomb recipe we use to make our bath bombs at Cada Soapery. It is a great recipe for new and experienced bath bomb makers! This is the recipe we use with our 3 piece molds. We live in Florida and have formulated this for a high humidity climate. You may need to adjust this recipe for your humidity.
Tools you will need
1 Mixing Bowl
Bath Bomb Mold(s) (we have all kinds available here)
1 Cup for liquids
2 Tablespoons (1 Metal to tap 1 plastic for measuring)
1 Teaspoon
1 Cup Measuring Cup
1 Sifter
1 Spray bottle
Ingredients
6 cups Baking Soda
3 cups Citric Acid
2 Tbsp Cream of Tarter
3-4 Tbsp SLSA
4 Tbsp Avocado Oil (or another lightweight oil such as sweet almond oil)
**Molds with more detail you may need to add 1-2 Tbsp more oil for a wetter mix.
2 Tbsp Polysorbate 80
2 Tbsp Fragrance Oil (check safety guidelines for your FO)
Colorant (Mica, Lake, or Dye)
Water as binder
We purchase all our ingredients from MakeYourOwn. All our Fragrance Oils come from Natures Garden and Just Scent.
Directions
1. You will first want to gather all the items from the Tools you will need and Ingredients sections above and have them handy and ready to use. Your bath bomb mix will dry up quickly and there is nothing worse than to go looking for something you need and your mix is dry. It could end up ruining your whole batch!
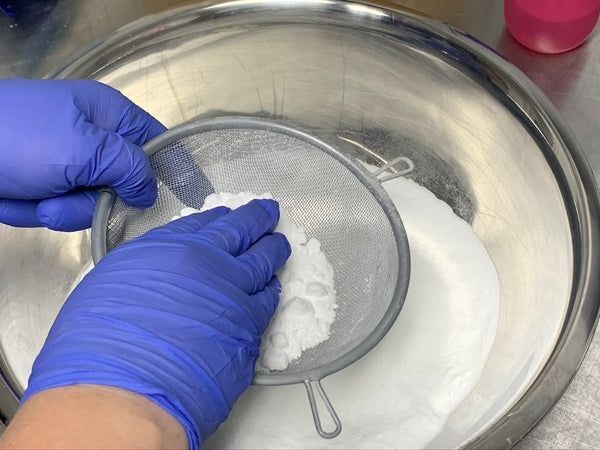
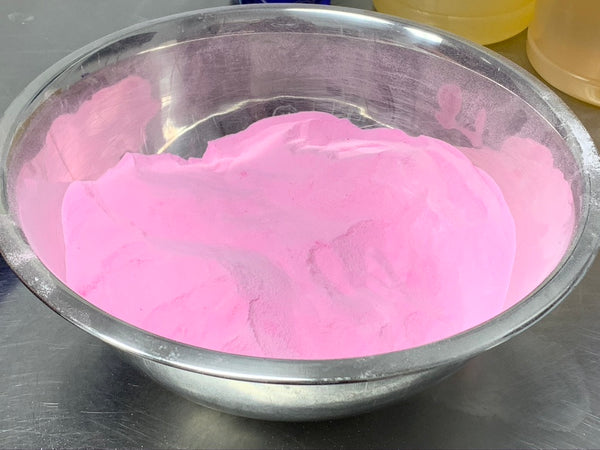
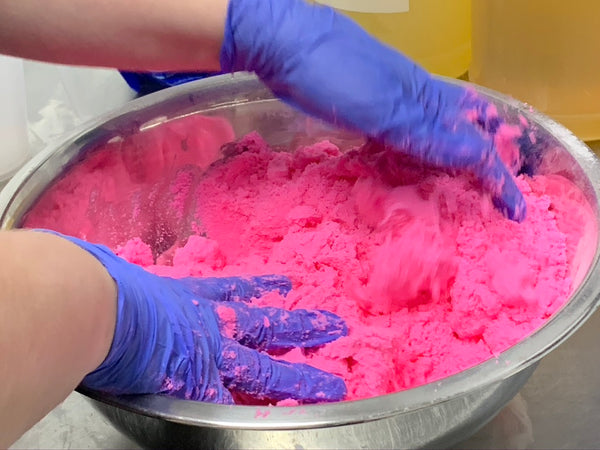
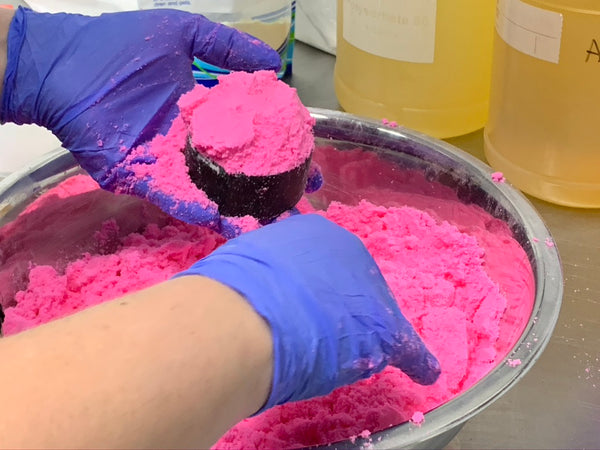
2. Once you have all your Tools and Ingredients handy you will start by mixing the dry ingredients (Baking Soda, Citric Acid, Cream of Tarter, and SLSA) in a large mixing bowl. If your Baking soda or Citric Acid have clumps, you will want to use the sifter to break up the clumps. Once your mix is clump free, add your colorant and mix it well until its all blended at an even color.
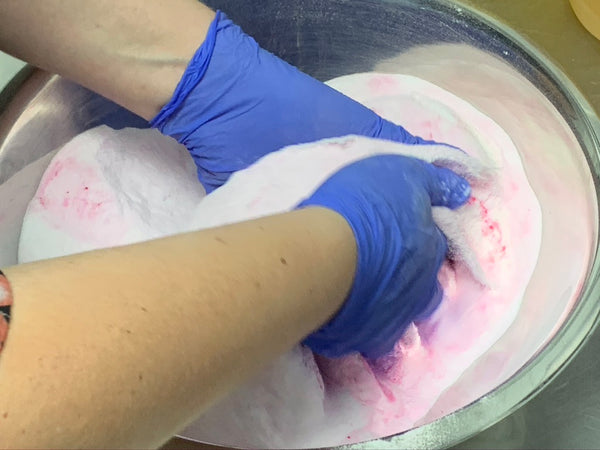
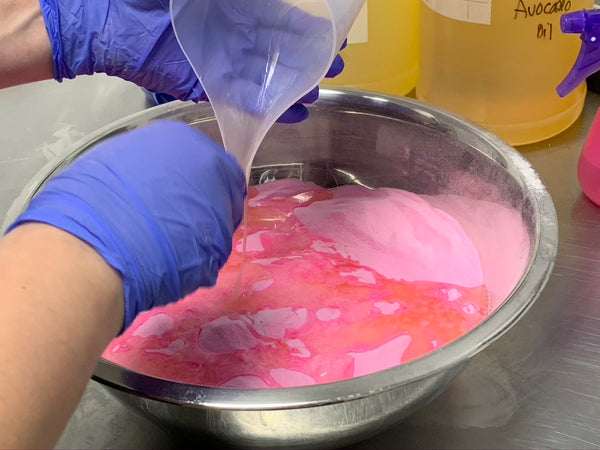
3. In a separate cup add all your wet ingredients (Avocado Oil, Polysorbate 80, and Fragrance Oil). Once your colorant is mixed in well with your dry ingredients, add your wet ingredients into your dry ingredients and then mix well with your hands. You can also use a stand mixer to mix, but we prefer to use our hands. You will want to mix these until the whole mix is wet.
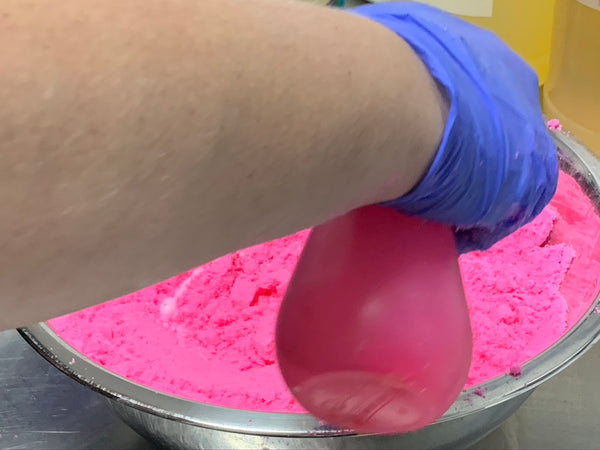
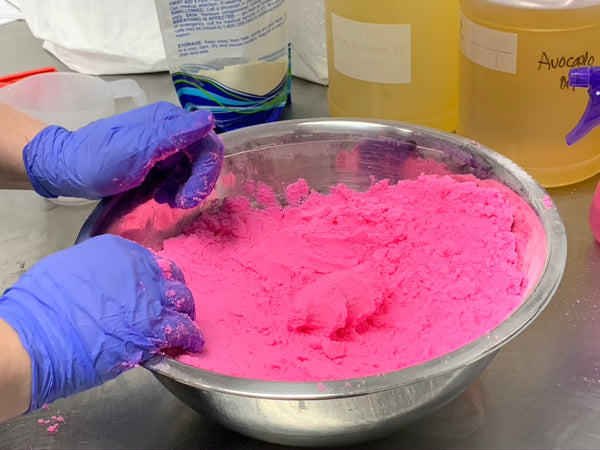
4. Once the mix is fully mixed in grab some water and spray a couple sprays of the binder into the bowl, mix into the mix with your hands. You will want to do this a few times around the bowl while mixing to get the water mixed into the mix. The consistency of the mix should be a wet sand consistency. The water makes the mix activate and start to bind, so you will want to start molding right away.
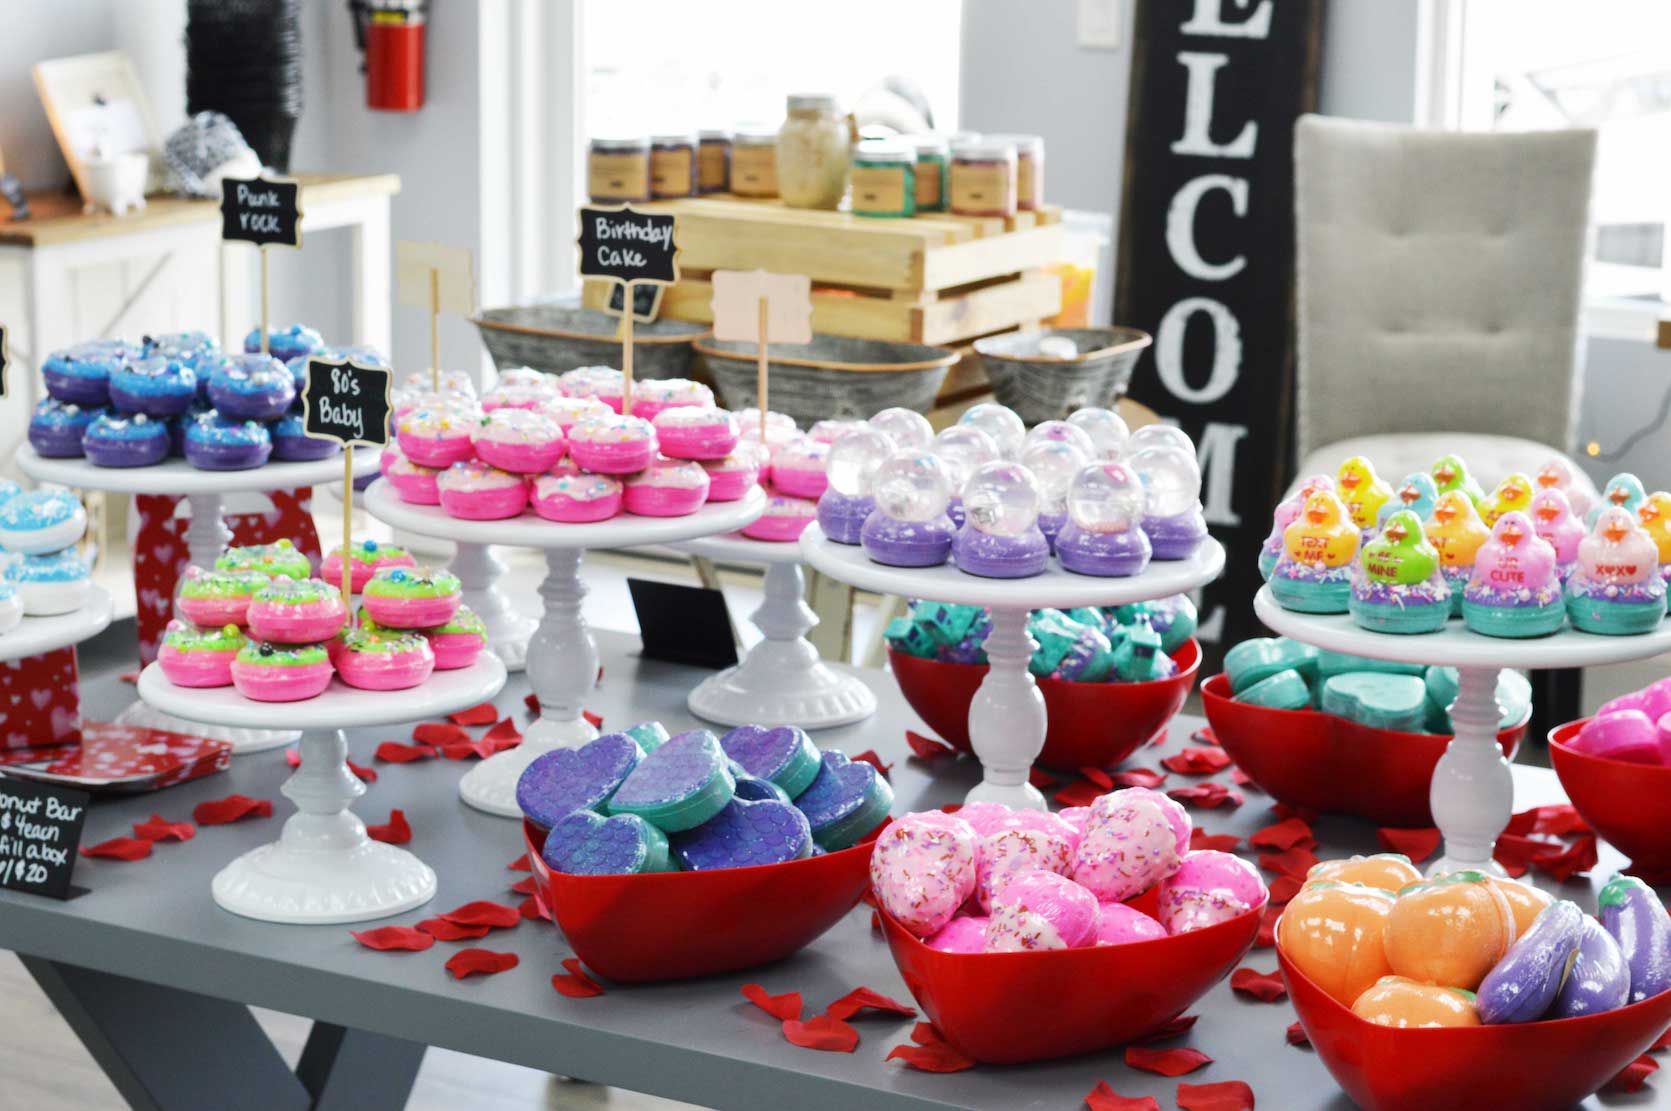
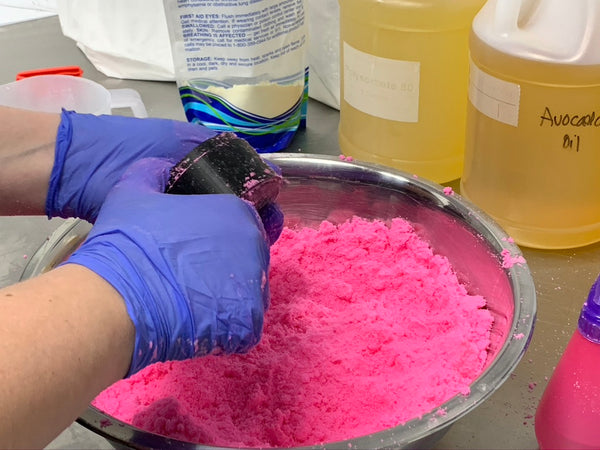
In this tutorial we are using our 2.5" 3 Piece Donut Bath Bomb Mold which is a 3 Piece mold, but there are a wide range of other type molds available. Some of the other most common types are vacuum form and silicon molds. 3 piece molds will be the easiest to use.
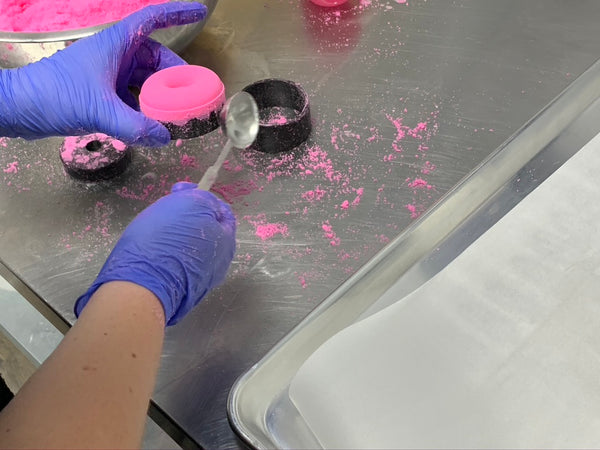
5. To mold with the 3 piece mold You take one of the cups and insert it into the cylinder then overfill the cylinder with the bath bomb mix. Place the second cup on top and press down to compact the mix into the mold.
6. To un-mold, simply move the cups back and forth in the cylinder to free up the mix, then remove both cups from the cylinder at once. With the cups removed clean up the Saturn ring and poke your finger or a small item in the center to clear out the mix in the center of the donut. Then tap the cups with a metal soon to release the bath bomb from the mold. Once the bath bomb is released from the mold the tapping will have a hollow sound.
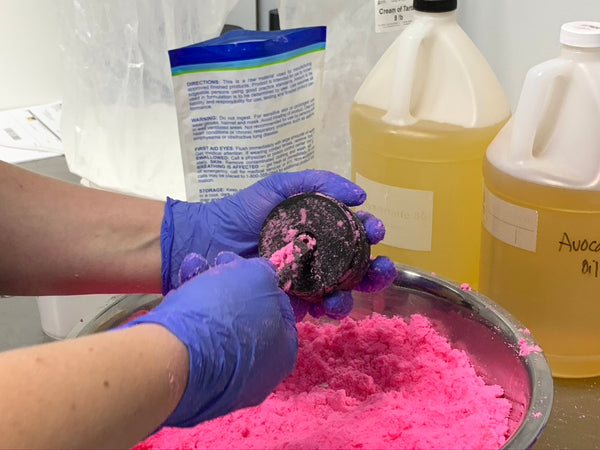
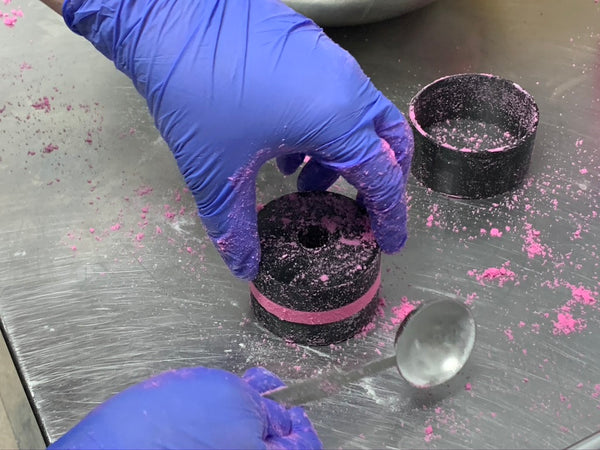
7. After tapping the cups, remove the top cup and hold the bottom cup with the bath bomb in it. gently use your hand to hold the bath bomb in the cup while flipping it over and onto the surface you will use to dry your mold. The bath bomb should release from the mold at this time. If it does not you can use the metal spoon to gently tap the cup until it falls out. We also have a YouTube video here showing the use of our larger 3.5" bath bomb mold.
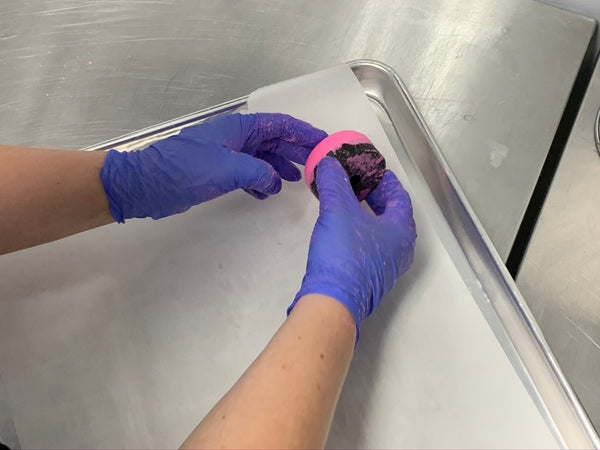

8. Once you have finished molding all your bath bombs you will want to let them air dry for 48 hours until they are hard enough to use, ice, decorate, or wrap.
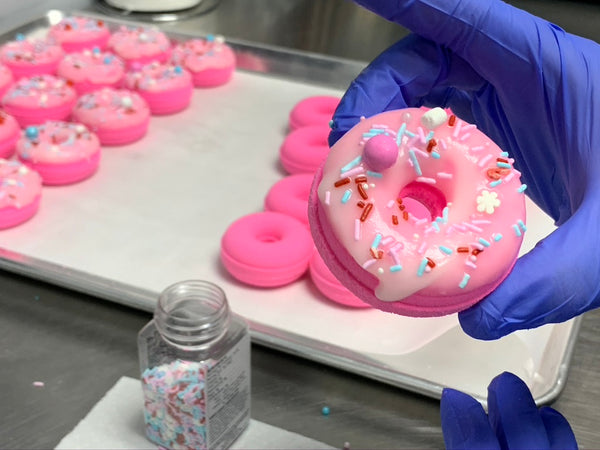
That is it for the basics of bath bomb making! The donut has a huge amount of options when it comes to finishing them off. In another blog we will show you how to ice the donuts, use a whipped topping with toys, and other fun ideas!
Have Questions?
Join our Facebook Group for more help!